为什么要迁移到hexo
什么是Hexo
Hexo 是一个快速、简洁且高效的博客框架(使用NodeJs)。 Hexo 使用 Markdown(或其他标记语言)解析文章,在几秒内,即可利用靓丽的主题生成静态网页。
为什么选择了Hexo
- 好看,好看,好看
- 其中的归档功能做的很好,支持分组、也支持标签
- 很好的集成了网站统计相关的功能
迁移过程
Hexo环境搭建
- 首先确保安装了nodejs和git
因为 Hexo 是基于 nodejs 的,所以需要先安装 nodejs,这里我使用的是 nvm 管理 nodejs 版本,安装好 nvm 后,执行 nvm install nodejs 安装 nodejs。
我安装的是2025年1月最新lts版本的nodejs: v22.12.0
- 安装Hexo
因为我的nodejs是最新版本,所以我的hexo版本是也是当前最新版本: 7.3.0
创建Hexo博客网站
选择一个你想创建项目代码的位置,执行以下命令创建Hexo博客网站:
1
2
3
4
5
6
7
|
nvm use v22.12.0
hexo init my_blod
cd my_blod
npm install
|
然后我们就得到了一个默认的博客项目my_blog,其中的package.json文件如下:
1
2
3
4
5
6
7
8
9
10
11
12
13
14
15
16
17
18
19
20
21
22
23
24
25
26
27
| {
"name": "hexo-site",
"version": "0.0.0",
"private": true,
"scripts": {
"build": "hexo generate",
"clean": "hexo clean",
"deploy": "hexo deploy",
"server": "hexo server"
},
"hexo": {
"version": "7.3.0"
},
"dependencies": {
"hexo": "^7.3.0",
"hexo-generator-archive": "^2.0.0",
"hexo-generator-category": "^2.0.0",
"hexo-generator-index": "^4.0.0",
"hexo-generator-tag": "^2.0.0",
"hexo-renderer-ejs": "^2.0.0",
"hexo-renderer-marked": "^7.0.0",
"hexo-renderer-stylus": "^3.0.1",
"hexo-server": "^3.0.0",
"hexo-theme-fluid": "^1.9.8",
"hexo-theme-landscape": "^1.0.0"
}
}
|
到了这一步,我们就可以启动最原始版本的项目了:
1
2
3
4
| cd my_blod
hexo server
npm run server
|
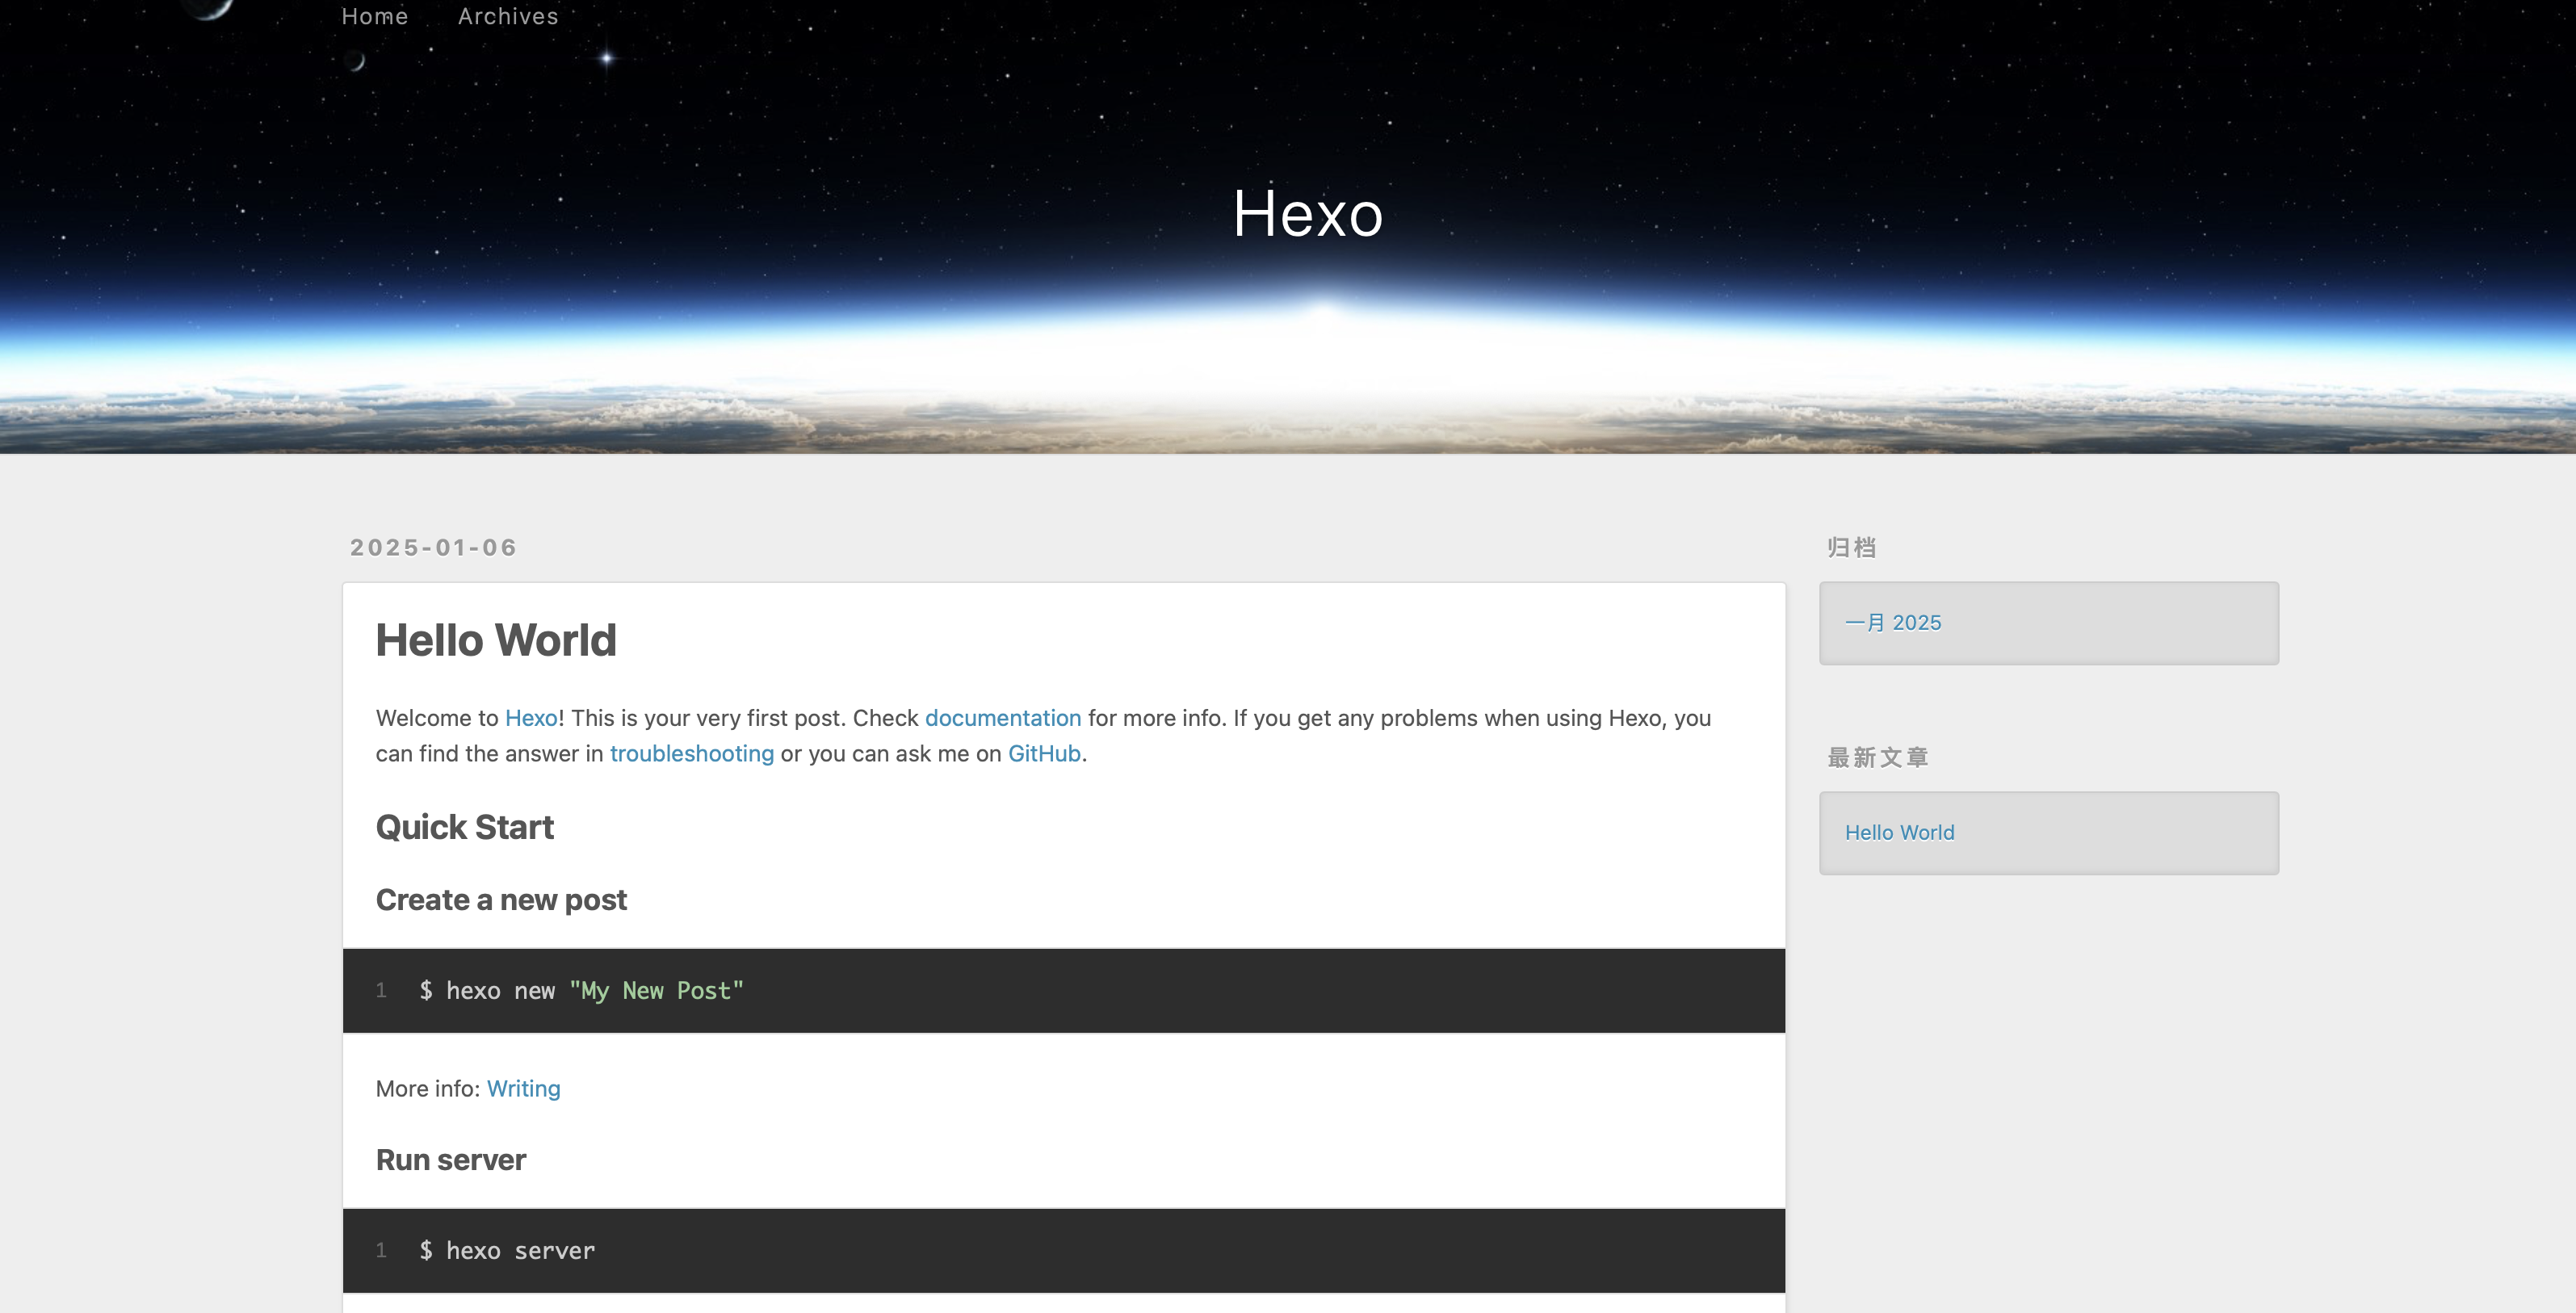
然后访问 http://localhost:4000 就可以看到默认的博客了。

官方给我们创建了一个hello world的博客. 我们可以参考这个来写我们自己的博客了。
常用的hexo命令参考这里
当然这里可以使用任何你喜欢的主题,安装模式大同小异。
- 安装Fluid主题的最新版本
1
2
| cd my_blod
npm install --save hexo-theme-fluid
|
- 配置主题
如下修改 Hexo 博客目录中的 _config.yml:
1
2
3
| theme: fluid
language: zh-CN
|
- 创建【关于页】
首次使用主题的「关于页」需要手动创建:
创建成功后修改 /source/about/index.md,添加 layout 属性,。
1
2
3
4
5
6
| ---
title: 标题
layout: about
---
这里写关于页的正文,支持 Markdown, HTML
|
layout: about 必须存在,并且不能修改成其他值,否则不会显示头像等样式。

迁移jekyll博客文章
文章迁移
- 把 _posts 文件夹内的所有文件复制到 source/_posts 文件夹
- 在 _config.yml 中修改 new_post_name 参数
1
| new_post_name: :year-:month-:day-:title.md
|
- 如果不想使用步骤2,也可以把所有的文章的文件名的年月日前缀去掉,也可以(作为轻度洁癖患者,我选的这种方式)。
图片迁移
原先我的所有的图片资源都是在项目的根目录下的 /images 路径下,然后在文章里通过markdown的图片引用方式引用。
迁移到hexo后,只需将images目录 移动到 source 路径下,其他的都不用动,图片就可以自动解析了。
因为hexo 会将source目录下的所有文件都移动到网站的根路径下,所以图片的最终引用地址是一样的。
网站配置修改
通用hexo配置按照如下配置修改 _config.yml 文件:
1
2
3
4
5
|
title: 寒澈笔记
subtitle: '一个程序员眼中的世界'
url: https://www.hancher.top
|
fluid主题配置特性配置修改如下文件_config.fluid.yml, 会根据主题配置自动选择相应主题的配置。
而且这里的配置优先级最高,会覆盖_config.yml配置。
1
2
3
4
5
6
7
8
9
10
11
12
13
14
15
16
17
18
19
20
21
22
23
24
25
26
27
28
29
30
31
32
33
34
35
36
37
38
39
40
41
42
43
44
45
46
47
48
49
50
51
52
53
54
55
56
57
58
59
60
61
|
navbar:
blog_title: 寒澈笔记
footer:
statistics:
enable: true
source: "busuanzi"
pv_format: "总访问量 {} 次"
uv_format: "总访客数 {} 人"
force_https: false
index:
slogan:
enable: true
text: 人生总有一些东西值得回忆
about:
name: "寒澈"
intro: "一名喜欢文史哲的程序员"
icons:
- { class: 'iconfont icon-github-fill', link: 'https://github.com/Hanchers/hanchers.github.io' }
- { class: 'iconfont icon-zhihu-fill', link: 'https://www.zhihu.com/people/bh.zhi' }
- { class: 'iconfont icon-wechat2-fill', qrcode: '/images/about/see-history.jpg' }
post:
meta:
author:
enable: false
date:
enable: false
format: "dddd, MMMM Do YYYY, h:mm a"
wordcount:
enable: true
format: "{} 字"
min2read:
enable: true
format: "{} 分钟"
views:
enable: true
source: "busuanzi"
format: "{} 次"
copyright:
license: 'BY-NC-ND'
update_date:
enable: true
|
github pages 配置修改
我是用的私有项目,然后通过github action的方式来自动编译部署github pages的, 具体可以参考我的历史文章,有记录。
这里要做的是在github 上重新配置hexo环境和 打包脚本。
进入本地项目的 .github/workflows目录下,删除以前的workflow文件,然后新建一个文件,文件名随意,内容如下:
1
2
3
4
5
6
7
8
9
10
11
12
13
14
15
16
17
18
19
20
21
22
23
24
25
26
27
28
29
30
31
32
33
34
35
36
37
38
39
40
41
42
43
44
45
46
47
48
49
50
51
52
53
54
55
56
57
58
59
60
61
62
63
64
65
66
67
68
69
|
name: Deploy Hexo site to public github repos
on:
push:
branches:
- main
workflow_dispatch:
permissions:
contents: read
pages: write
id-token: write
concurrency:
group: "pages"
cancel-in-progress: true
jobs:
build:
runs-on: ubuntu-latest
steps:
- name: Checkout版本
uses: actions/checkout@v4
- name: 使用Node: v22.12.0
uses: actions/setup-node@v4
with:
node-version: "22.12"
- name: 缓存 NPM 依赖
uses: actions/cache@v4
with:
path: node_modules
key: ${{ runner.OS }}-npm-cache
restore-keys: |
${{ runner.OS }}-npm-cache
- name: 安装npm依赖
run: npm install
- name: 构建博客内容
run: npm run build
- name: 更新博客网站到public目录
uses: actions/upload-pages-artifact@v3
with:
path: ./public
- name: 部署_site到博客网站仓库
working-directory: ./public
run: |
git init
git checkout -b main
git add -A
git -c user.name='hancher' -c user.email='[email protected]' commit -m 'update blog'
git push "https://${{github.actor}}:${{secrets.PUB_BLOG}}@github.com/Hanchers/hanchers.github.io" HEAD:main -f -q
|
如果不是私有项目部署的话,使用官方的配置即可。官方配置如下:
1
2
3
4
5
6
7
8
9
10
11
12
13
14
15
16
17
18
19
20
21
22
23
24
25
26
27
28
29
30
31
32
33
34
35
36
37
38
39
40
41
42
43
44
45
46
47
48
49
50
| name: Hexo 博客部署
on:
push:
branches:
- main
jobs:
build:
runs-on: ubuntu-latest
steps:
- uses: actions/checkout@v4
with:
token: ${{ secrets.GITHUB_TOKEN }}
submodules: recursive
- name: Use Node.js 20
uses: actions/setup-node@v4
with:
node-version: "20"
- name: Cache NPM dependencies
uses: actions/cache@v4
with:
path: node_modules
key: ${{ runner.OS }}-npm-cache
restore-keys: |
${{ runner.OS }}-npm-cache
- name: Install Dependencies
run: npm install
- name: Build
run: npm run build
- name: Upload Pages artifact
uses: actions/upload-pages-artifact@v3
with:
path: ./public
deploy:
needs: build
permissions:
pages: write
id-token: write
environment:
name: github-pages
url: ${{ steps.deployment.outputs.page_url }}
runs-on: ubuntu-latest
steps:
- name: Deploy to GitHub Pages
id: deployment
uses: actions/deploy-pages@v4
|
然后就可以到 hanchers.github.io 仓库下查看博客内容是否更新成功了。
如果博客内容更新了,就可以安装你的博客地址去访问博客了。
参考

